
How to Make Your First Meal in Your Pressure Cooker
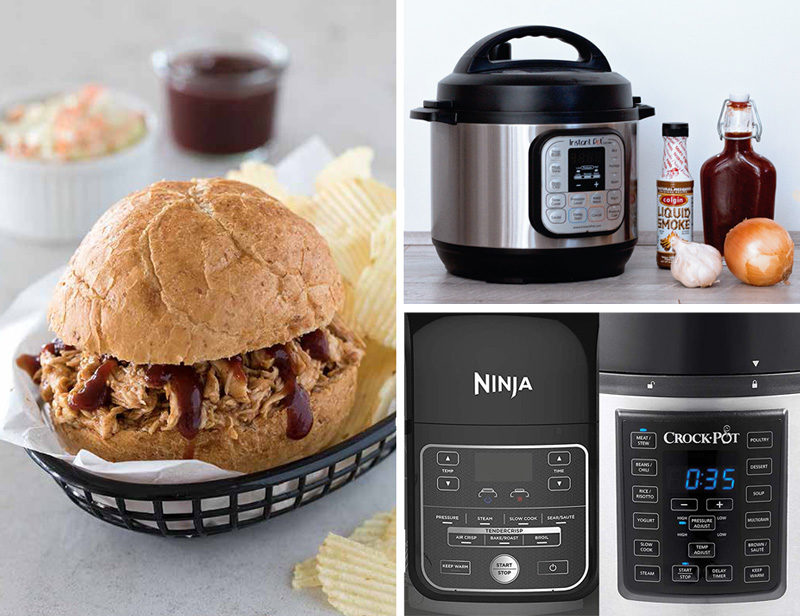
Get your new pressure cooker out of the box and get cooking! In this post, I break down a standard pressure cooker recipe and include all the details you need to make your first meal in your Instant Pot, Ninja Foodi, Crockpot Express, Power Pressure Cooker XL, or any other brand of electric pressure cooker!
Welcome to part 4 of the Getting Started Guide. You’re ready to get cooking in your new electric pressure cooker!
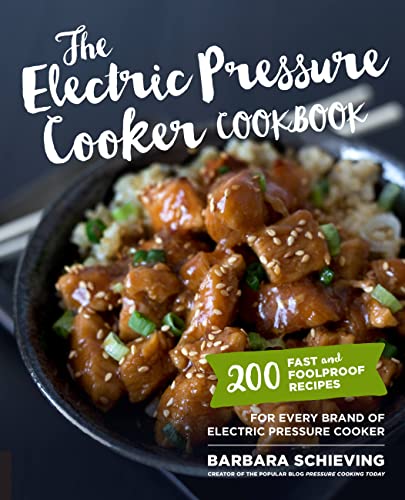
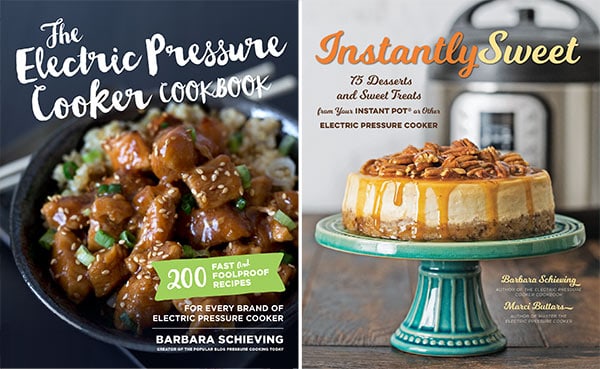
One of my favorite things is how quickly meals come together in the electric pressure cooker. Many recipes on my site can be made in under 30 minutes. For this post, I’ve adapted one of my 30-minute meals, the Shredded Barbecue Chicken recipe from my cookbook, The Electric Pressure Cooker Cookbook. I often use this chicken for both sandwiches and salads—it’s one I often have on hand.
The recipe below expands on the steps in the cookbook recipe and includes specific details for the top brands of electric pressure cookers. You can refer to this post when making other recipes in the pressure cooker.
Make Your First Meal in Under 30 Minutes
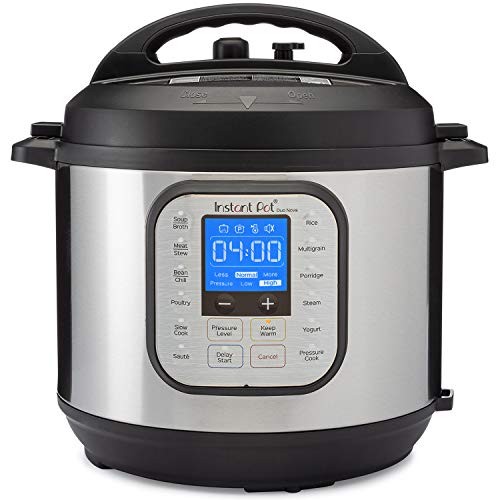
Make Your First Meal in Your Instant Pot
We've taken our Instant Pot Shredded Chicken BBQ Sandwiches recipe and explained every step along the way, so that you can get familiar with how to do the different tasks associated with the recipe.
This pressure cooker recipe will work in ANY brand of electric pressure cooker, including the Instant Pot, Ninja Foodi, Crockpot Express, Power Pressure Cooker XL, Zavor, Mealthy, or any other brand!
Materials
- 1 cup barbecue sauce
- 1 cup water
- 1 teaspoon liquid smoke
- 3 smashed cloves of garlic
- 1 large onion, quartered
- 4 large boneless skinless chicken breasts
- Food items to finish the meal (such as buns to serve as sandwiches with chips and carrots, or a tossed salad and BBQ dressing)
Tools
- An Instant Pot, Ninja Foodi, or other brand of electric pressure cooker
- The silicone ring that came with that device (I like to have separate for sweet and savory foods if yours came with more than one)
- Measuring cups
- Measuring spoons
- Knife
- Instant-read thermometer
Instructions
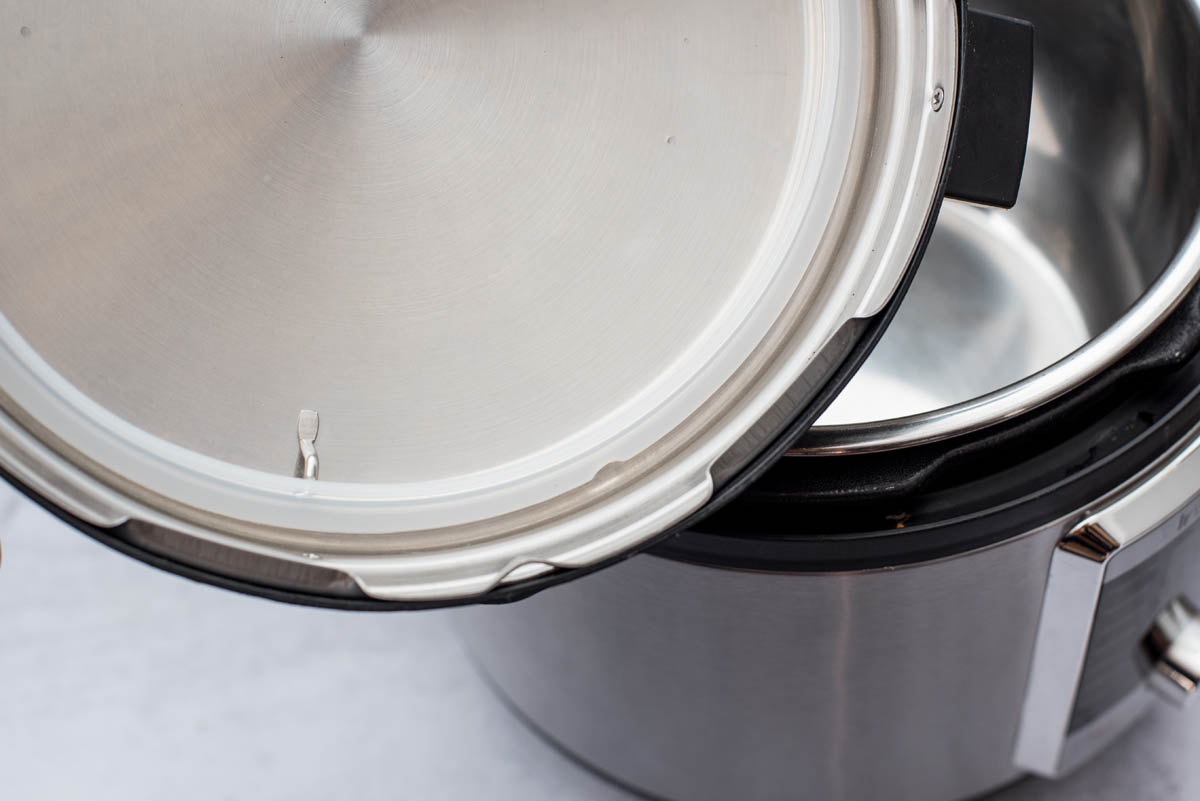
1. Check the lid
Ensure that the sealing ring is completely in place and nested around the inside of the lid, with no gaps or bulges.
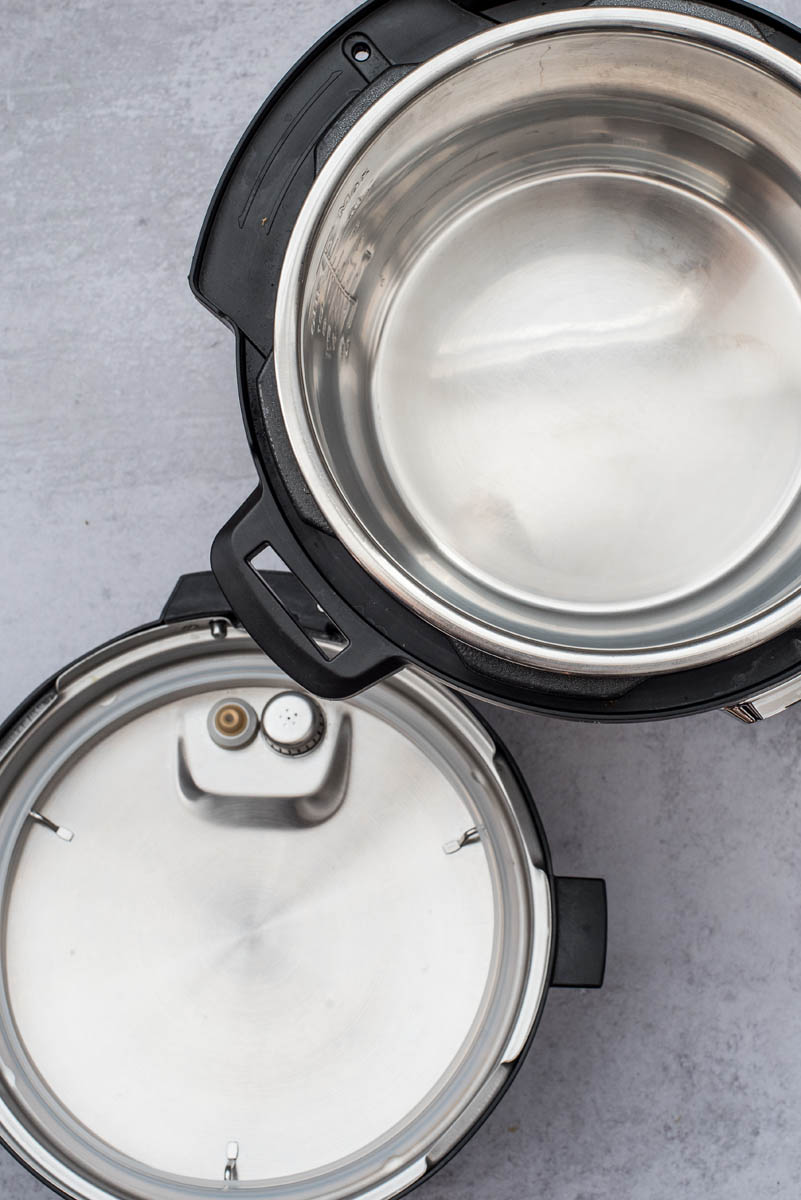
2. Check the housing
Make sure that there is nothing between the housing and the cooking pot, and that the pot is in place and ready to cook.
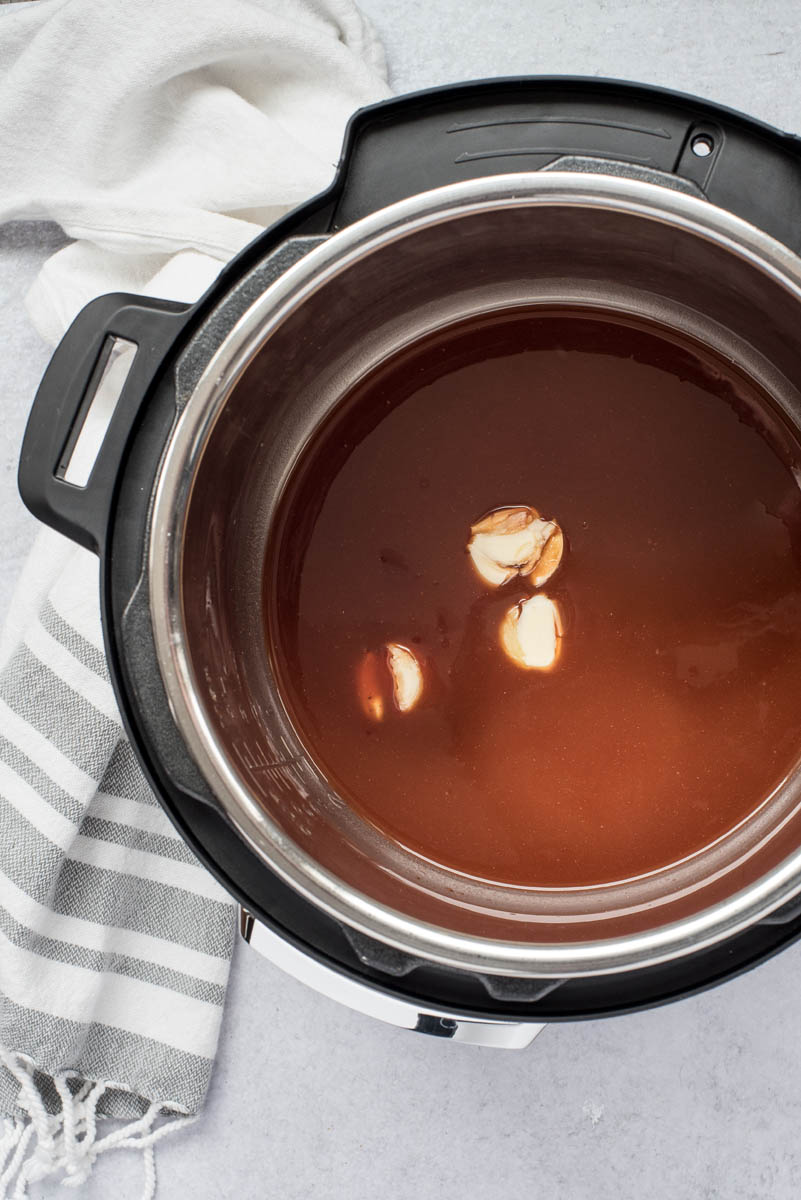
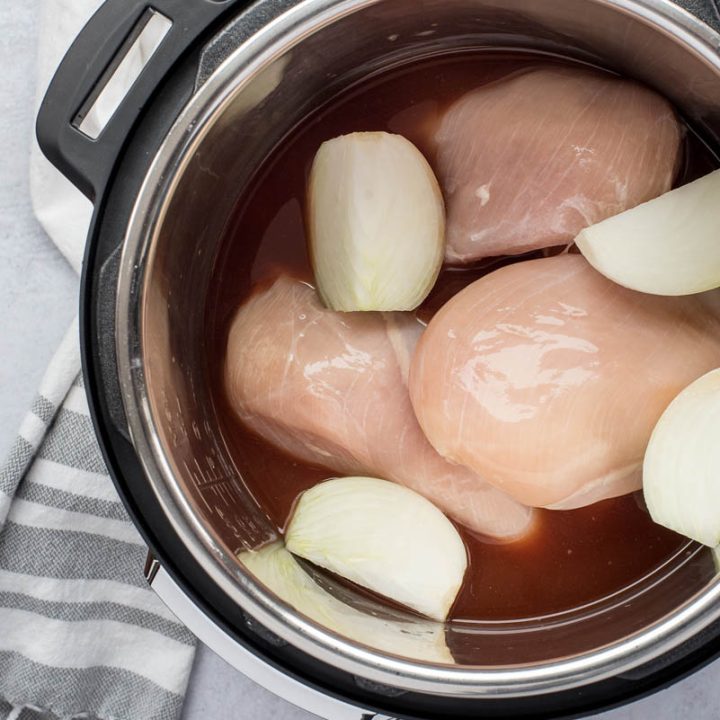
3. Mix liquid ingredients
In the pressure cooking pot, stir together 1 cup barbecue sauce, 1 cup water, 1 teaspoon liquid smoke, and 3 smashed cloves of garlic. Make sure that the BBQ sauce is well mixed with the water.
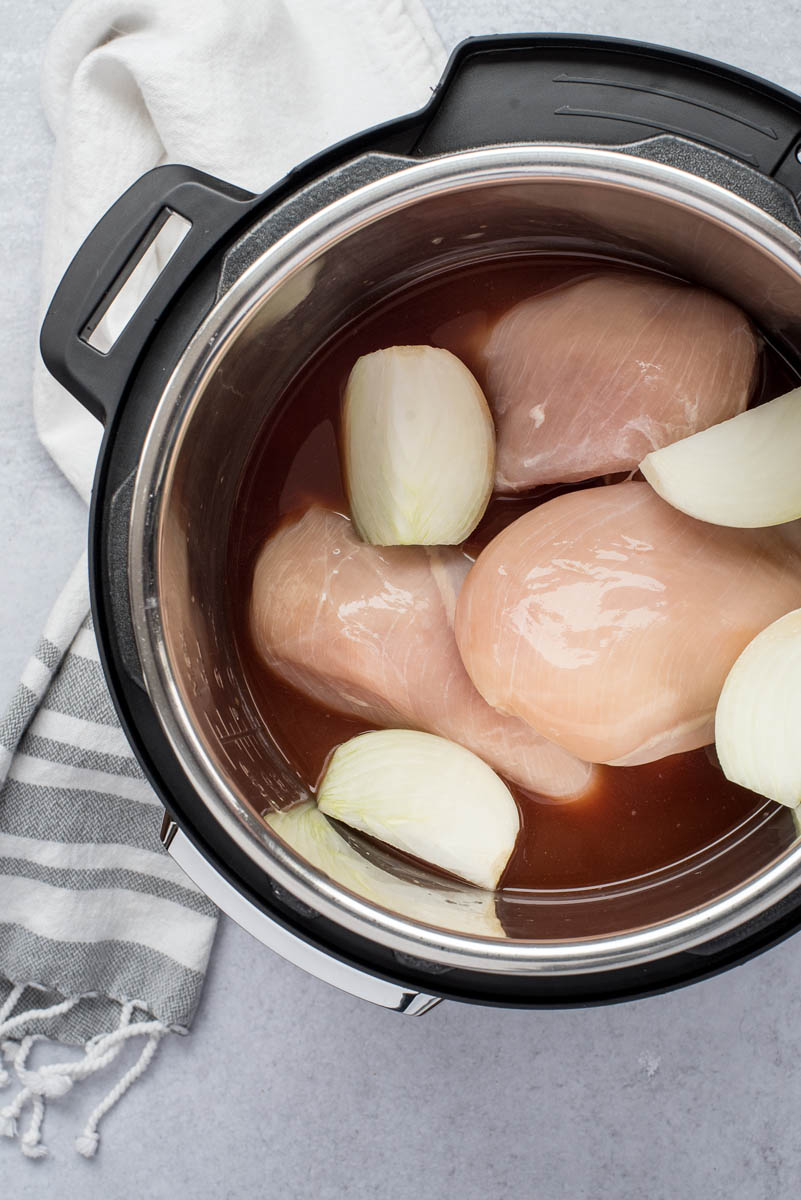
4. Add remaining ingredients
Add 1 large onion, quartered, and 4 large boneless skinless chicken breasts. (You'll remove the onions later, so no need to worry about chopping them pretty.
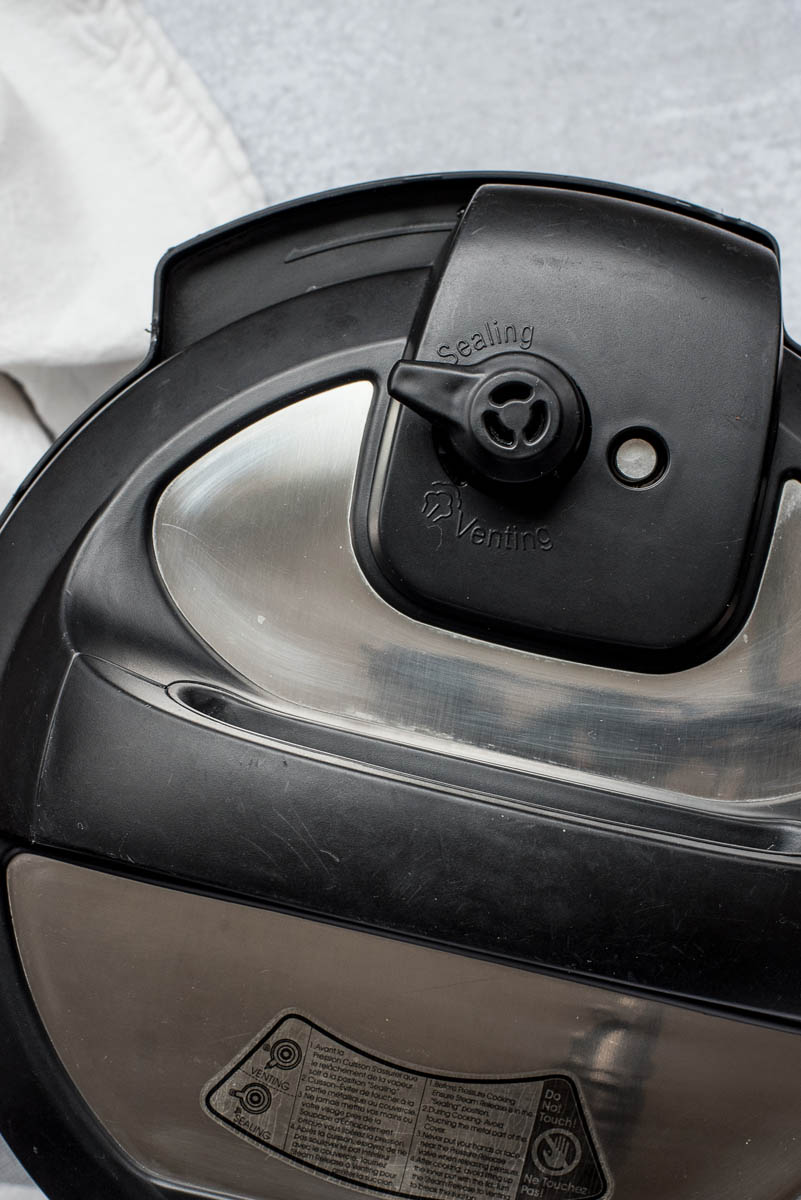
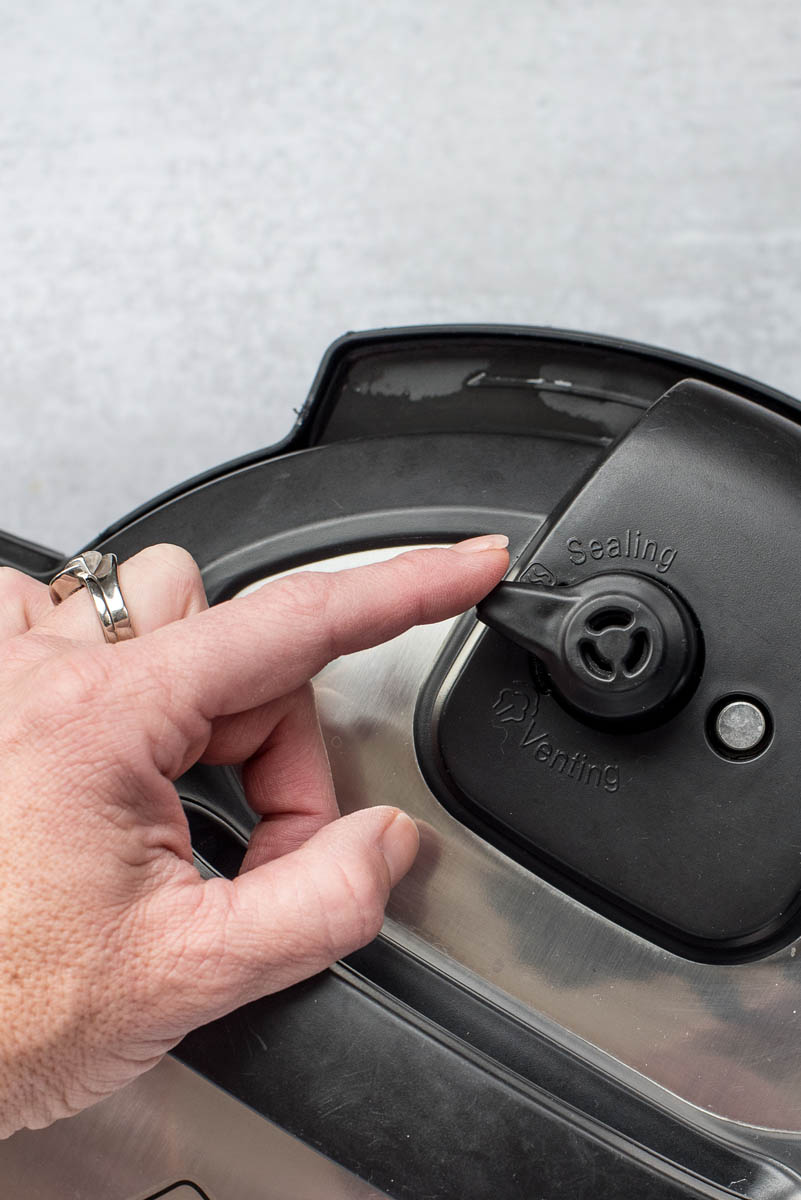
5. Lock the lid in place and Seal
Verify that your pressure release switch is in the Sealed position. While the terminology and icons vary slightly among brands, the process is identical.
Here are instructions for the top four brands:
Instant Pot Duo: Turn the pressure release handle from Venting (steam icon) to Sealing (triple-S icon). In newer, push-button steam release models, the model seals automatically when the lid is locked in place.
Ninja Foodi: Turn the pressure release valve from Vent to Seal.
Crockpot Express: Turn the steam release valve from the Open/Release position (steam icon) to the Closed/Seal position (X over the steam icon).
Power Pressure Cooker XL: Turn the pressure valve from the Open position (steam icon) to the Lock position (bulls-eye icon).
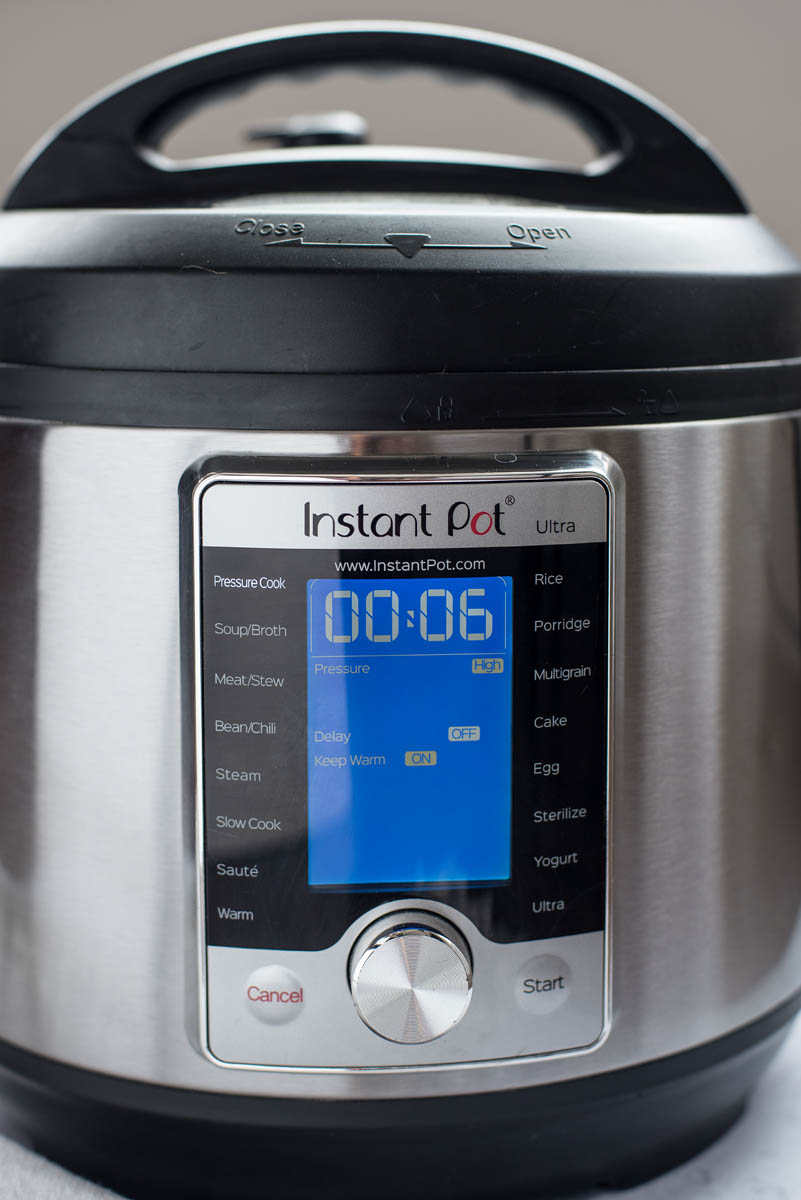
6. Set the Pressure Level and Cook Time
Select High Pressure and 6 minutes cook time. Again, the process is similar among brands; here’s how to do it in the top four brands:
Instant Pot Duo: To select High Pressure, use the Pressure Cook button, then use the plus and minus buttons to set the cook time to 6 minutes. (Older models of Instant Pot should use the Manual button in place of the Pressure Cook button.) No need to press start—after a few seconds, a beep will sound and it will start cooking according to your selections.
Ninja Foodi: To select High Pressure, press the Pressure button, then use the up and down Temp arrows to choose High. Then, use the up and down Time arrows to set the cook time to 6 minutes. Then press the Start/Stop button to begin the cooking process.
Crockpot Express: This pressure cooker doesn’t allow you to set a Manual cook time; therefore, you’ll need to choose the button with the closest cook time. For this recipe, select the Steam button and use the plus and minus buttons to adjust the cook time to 6 minutes. Press the Start/Stop button to begin the cooking process.
Power Pressure Cooker XL: Since this pressure cooker doesn’t allow you to set a Manual cook time, you’ll need to choose the button with the closest cook time. For this recipe, select the Rice/Risotto button and, if necessary, use the Time Adjust button to set a 6 minute cook time.
7. Delayed Pressure Release
When the cook time ends, let the pressure release naturally for 5 minutes. (This means to leave the valve in the sealed position for the next 5 minutes. We're letting the chicken rest before we release the pressure.)
During this time, there's no need to touch the buttons or anything—your keep warm setting will track the amount of time that has elapsed since the cook time ended. Or you can turn off your pressure cooker and set a kitchen timer.

8. Release Remaining Pressure
After 5 minutes, use a quick release to manually release any remaining pressure. Here’s how to do it in the top four brands:
Instant Pot Duo: Turn the pressure release handle from Sealing (triple-S icon) to Venting (steam icon). In newer models, you just need to push the button on the lid.
Ninja Foodi: Turn the pressure release valve from Seal to Vent.
Crockpot Express: Turn the steam release valve from the Closed/Seal position (X over the steam icon) to the Open/Release position (steam icon).
Power Pressure Cooker XL: Turn the pressure valve from the Lock position (bulls-eye icon) to the Open position (steam icon).
You’ll see and hear a jet of steam emerge from your pressure cooker. Wait until the steam subsides and the float valve drops.
Be sure to keep your hands and face away from the steam as it releases.
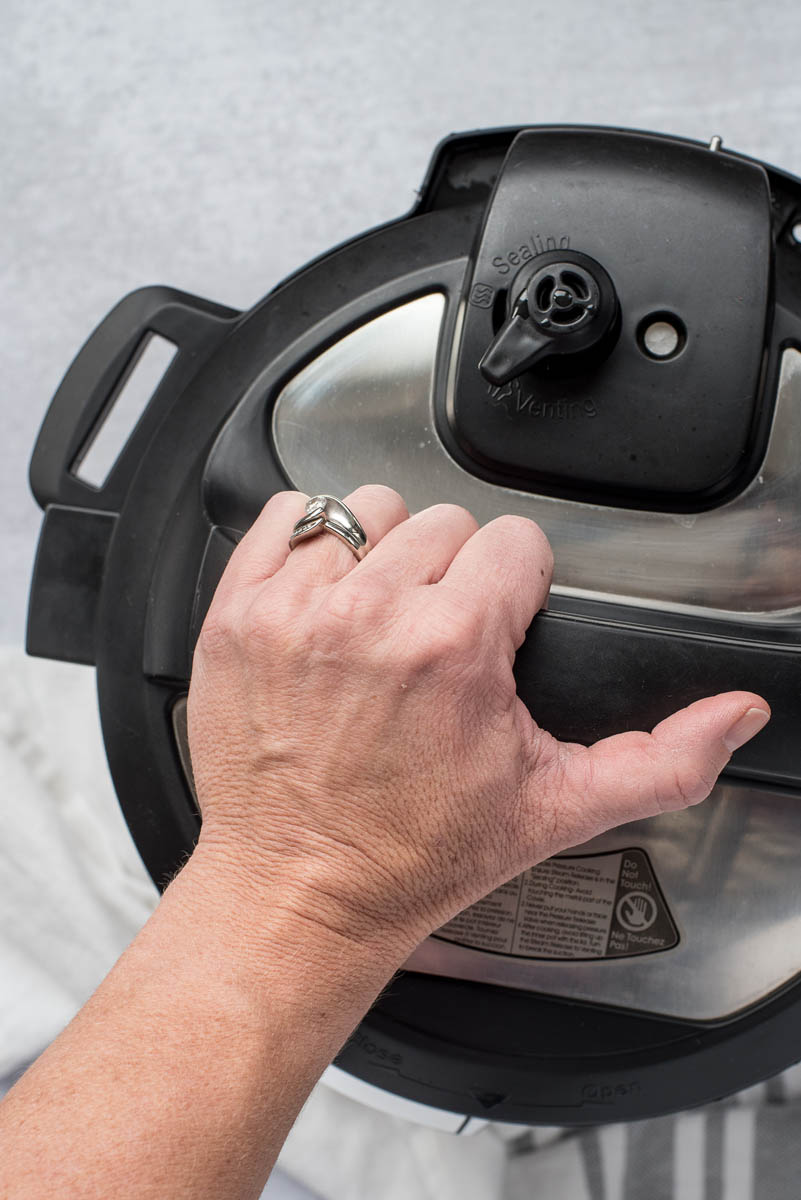
9. Unlock and Remove Lid
Turn the lid to the unlocked position. Carefully remove the lid, pointing it away from your face and arms to avoid the steam. I like to wiggle the lid a little to shake off any water droplets that may have condensed on top, then I'll use the lid fins to nest the lid inside the pressure cooker housing. (Many Instant Pot models have this feature.)
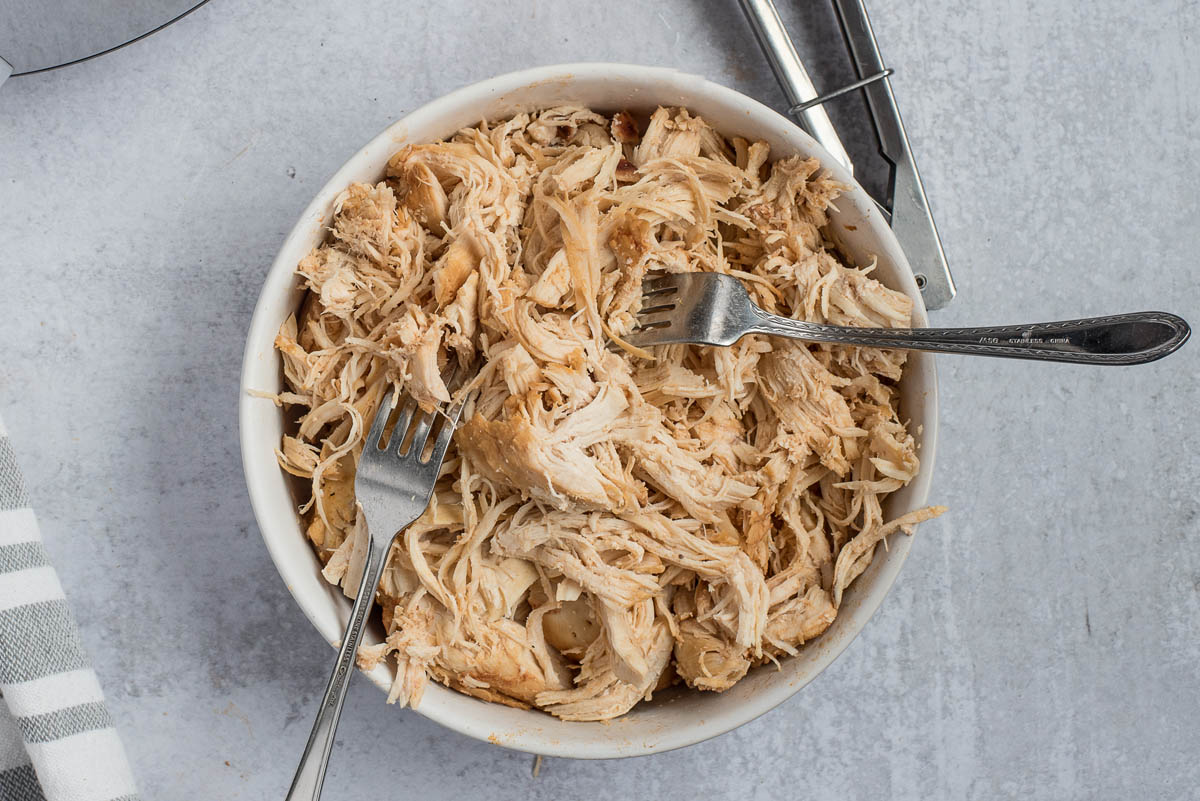
10. Test for Doneness
Use an instant-read thermometer to verify each chicken breast is at least 165°F in the thickest part of the breast after cooking. Remove the chicken from the cooking pot to a plate. Dice or shred the chicken, as desired.
(A shredding shortcut I love is I'll put the chicken in my KitchenAid bowl and pulse it until the chicken is as shredded as I want.)
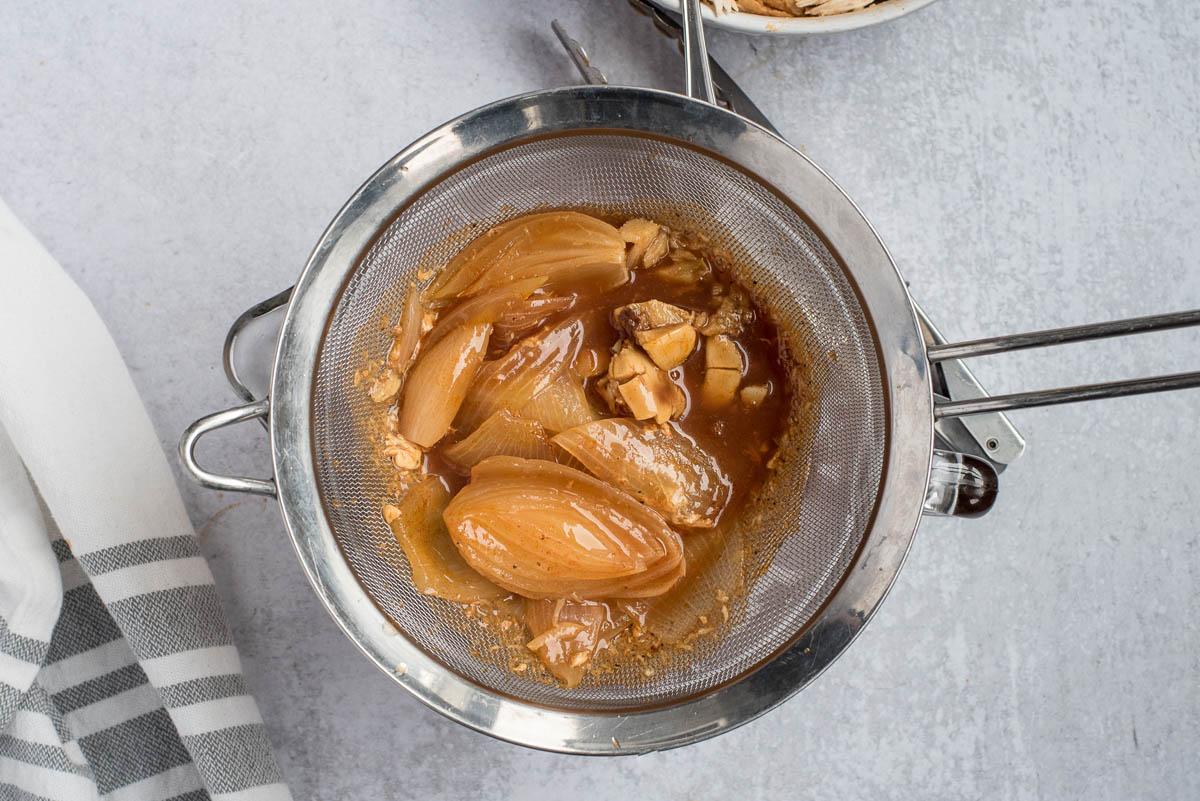
11. Strain and retain the cooking liquid, and discard the onion solids.
If you like maximum BBQ sauce flavor, stir together up to 1 additional cup of barbecue sauce and 1/2 cup of the cooking liquid and combine with the chicken.
Otherwise, simply add the 1/2 cup of cooking liquid back to the chicken.
(If I know I'm going to have leftovers, I'll save the cooking liquid until I'm ready to freeze, then I'll add a little more to each individual ziplock bag.)
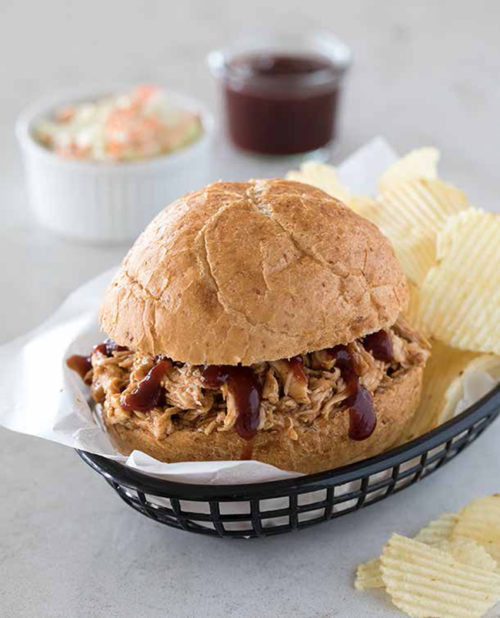
12. Serve the barbecue chicken while it’s hot and ready!
For barbecue chicken sandwiches, toast some sandwich rolls and top with additional barbecue sauce.
Or make a wonderful barbecue chicken salad with chopped romaine lettuce, diced tomatoes, corn, black beans, and shredded cheddar cheese, along with a drizzle of barbecue sauce and ranch dressing.
Recommended Products
As an Amazon Associate and member of other affiliate programs, I earn from qualifying purchases.
To read the recipe in its original form, see our post on Instant Pot Shredded Chicken BBQ Sandwiches.
>> Your first meal is complete! You’re ready to move on to the next section!
Part 5 in our Getting Started Guide suggests some easy pressure cooking recipes for you to make in your Instant Pot, Ninja Foodi, Crockpot Express, or other brand of electric pressure cooker.
Before you know it, you’ll be making fabulous pressure cooker meals and wondering how you ever cooked without it!
The How To Use An Instant Pot / Pressure Cooker Getting Started Guide Series
- How To Use an Instant Pot / Electric Pressure Cooker – Getting Started
- Pressure Cooker Parts Reference Guide
- Choosing a Pressure Release Method
- Water Test Run for the Instant Pot / Electric Pressure Cooker
- Make Your First Meal in Your Pressure Cooker
- Easy Recipes to Make in Your New Instant Pot / Electric Pressure Cooker
Other How To Guides
- How to Get a Pan Out of the Pressure Cooker / Instant Pot
- How to Know Which Instant Pot Button You Should Use?
- How to Use the Pot-in-Pot Method in Your Pressure Cooker / Instant Pot
- How to Convert a Recipe to a Pressure Cooker Recipe
- How to Pressure Cook Frozen Chicken Breasts
- How to Cook Pasta in the Instant Pot / Electric Pressure Cooker
- How to Make Perfect Pressure Cooker Cheesecake


Does the chicken need to be defrosted or can u use right from the freezer
Hi Roseanne – you don’t have to thaw the chicken. If you’re using frozen chicken, just add 3 minutes to the cook time. Enjoy!
I have a GeekChef pressure cooker and no cooking instructions other than basics. There is nothing that says “high” or “low” cook time. I chose “poultry” and thought I adjusted the time to 6 minutes but it was cooking well beyond that so I canceled it after about 10 minutes or more and the chicken was obviously not done. It had cooked some but was very tough and definitely not tender enough to shred.
Hi Chuck – generally if you can’t adjust the pressure, it always cooks at high pressure. It will take a while for the pressure cooker to come to pressure before the time starts to count down. Once the pressure cooker comes to pressure, the time will appear and start to count down. Think of it like a pot coming to boil before you cook the pasta or an oven preheating before baking.
Hello, I want to make a large batch of this for a party. Can I double the recipe? If so should I just increase the cook time? Thanks!
Hi Christine – you can double it without increasing the cook time. Just make sure you don’t fill your pot more than 2/3’s full.
Hi, what if I wanted to do 5 chicken breasts, that weigh around 21/2 ponds, would I adjust the cook time ?
Hi Peggy – no, as long as the chicken breasts aren’t stuck together like a thicker piece of meat, your cook time will be the same when you cook more. Enjoy!
Can I use bone in chicken breasts , And would that change the amount of cooking time?
Thank you, every recipe I’ve tried of yours gets rave reviews!!
Carol
Thanks Carol! Yes, you can use bone in chicken breasts. Since you want to shred the chicken, I would increase the cook time to 12 minutes with a 5 minute natural pressure release.
I had huge bone in chicken breasts. So I did them for 16 minutes.
Turned out great!! Thanks for all the awesome recipes
Awesome – thanks!
Barbara, how do I just recipe ingredient measurements and cooking times for the Instant Pot Mini?
BTW, I’ve book marked your site as one of the most helpful, thorough and easy to follow websites!
Thanks Margie! Glad you’re enjoying my site. Generally, for the Mini you can divide recipes in half and don’t need to change the cook time. An exception would be meats that are half as thick, then you’ll need to reduce the cook time.